Using Rust to interact with OpenAI API
The examples presented in the official OpenAI documentation are in Python (recently they added Node too). The Python integration is easy to set up and start to use. At the beginning of crivo.ai, I wrote all the microservices prototypes in Python (either in Jupyter or Django rest framework).
I do not have nothing to complain about. Python allowed me to test my ideas so fast.
Maybe sometime I will write a post about my Python integrations, for now, I recommend you to go through the blog articles, official documentation, or even YouTube videos to know more about it.
Why Rust?
Choosing Rust to write the engine of the backend from crivo.ai is about to pick one of the modern options available in the market, which can be fast, safe and robust.
In addition, I was challenging myself to learn the language used by Qdrant (my choice among the vector databases), and by its recent addition as the programming language accepted by Linux Tovarlds to be part of Linux Kernel.
To be honest... Rust beat me a lot in the first month. Understanding how and where to use Result or Option, or even how to unpack the data within those structures, was not easy. I can even compare the experience to your first try fighting a Dark Souls boss. After a lot of dies, you can start to understand the boss move set and finally beat it.
Rust is a language that encourages you to handle every result as possible, and due to that, your code may be longer than usual when compared to another language, like Python for example.
If you never code in Rust before, I strongly recommned the book The Rust Programming Language, which is part of the official documentation, it is just amazing.
Starting the project
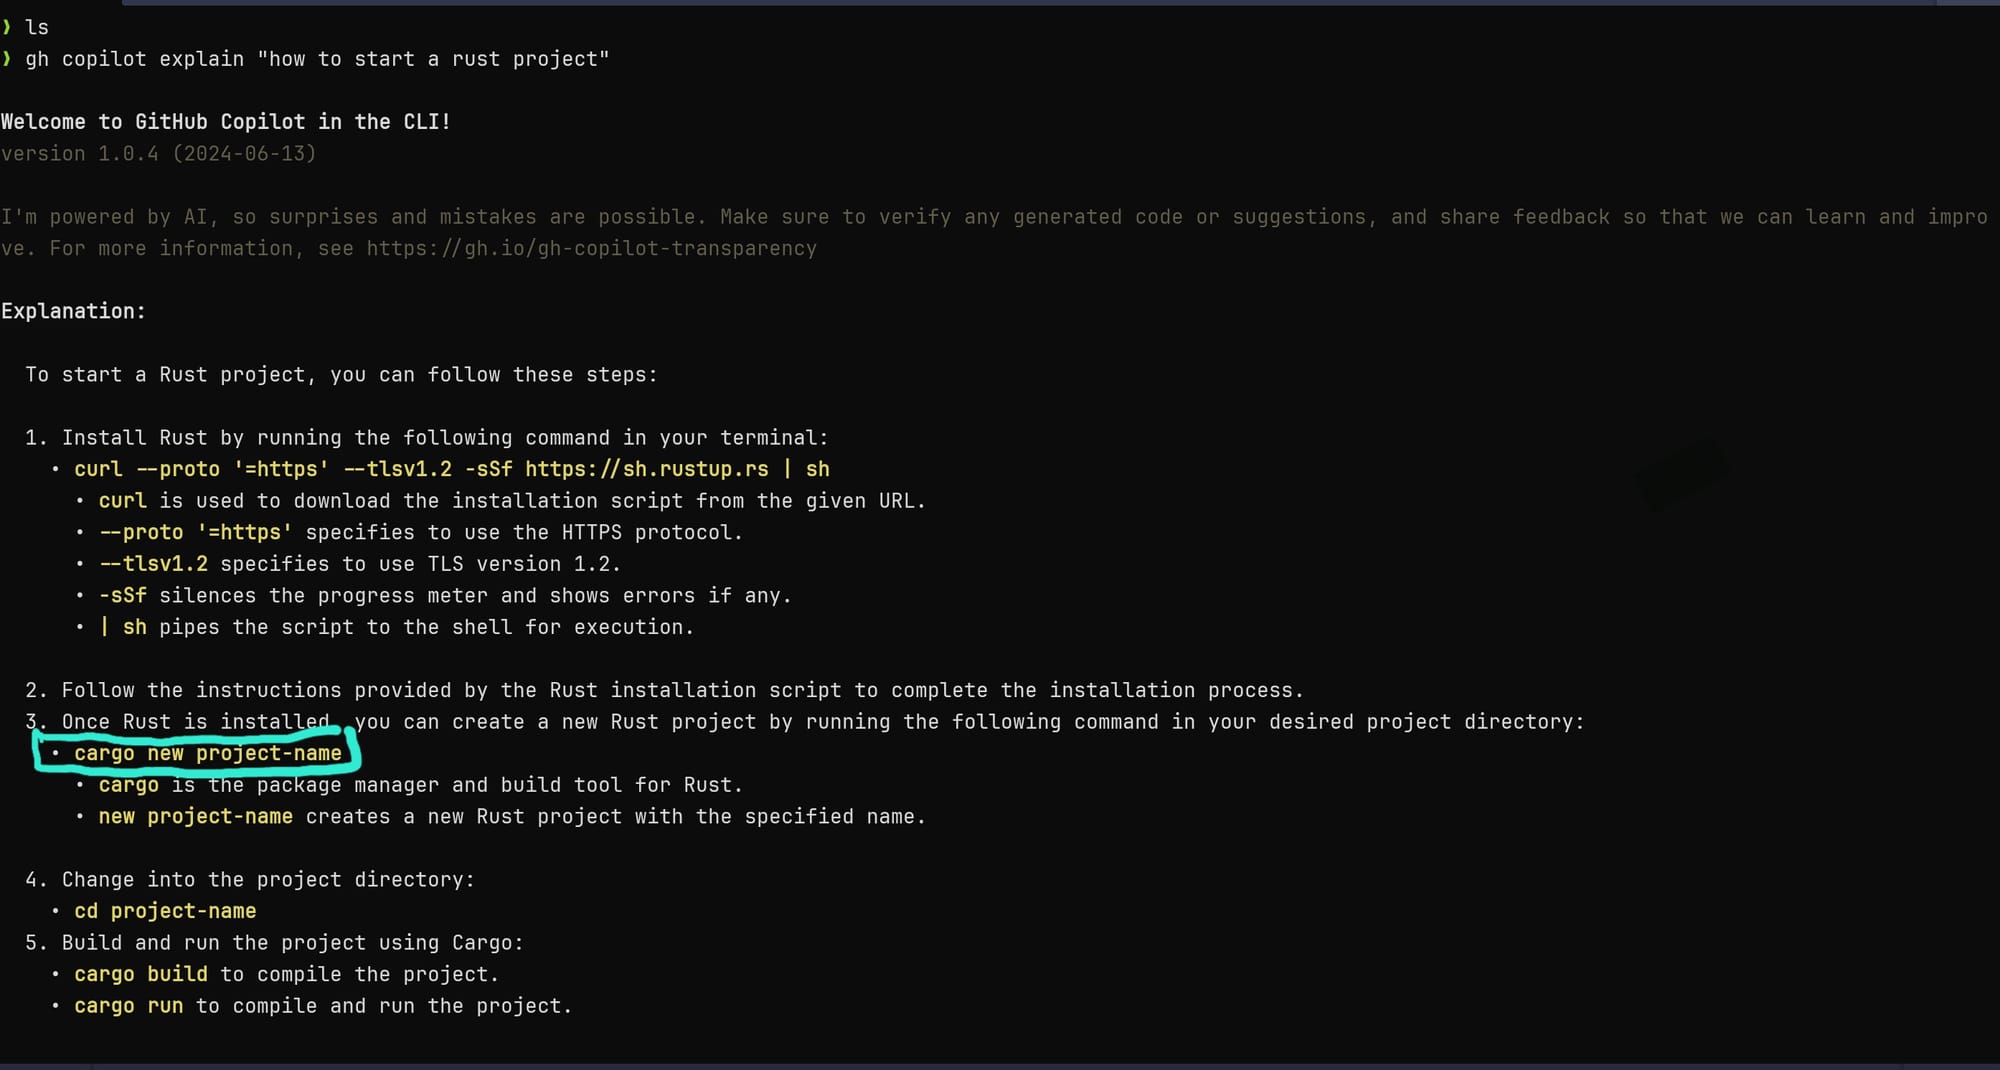
If you pay github copilot, it is possible to call it directly on the terminal and use it to remember the many Linux or framework commands that exist out there. Below I show how to use it to remember the commands to initialize a Rust project.
Remember that you need an OpenAI API key with funds to run the tests described on this article.
For now, talking about Rust (and in Rust), let's list the four necessary crates (as are called the packages in Rust) to connect the OpenAI API.
- reqwest: it is used to request the endpoints.
- serde: it is used to (Ser)ialize or (De)serialize data.
- serde_json: it is used to convert the Rust data structures into json strings.
- tokio: it is used to execute asynchronous functions (mandatory for reqwest).
To use the above crates in our project we need to add them as dependencies in the Cargo.toml file, which was generated after the project initialization:
[package]
name = "openai-api-integration"
version = "0.1.0"
edition = "2021"

[dependencies]
serde = { version = "1.0.210", features = ["derive"] }
reqwest = {"0.12.8", features = ["json"] }
serde_json = "1.0"
tokio = { version = "1.40.0", features = ["full"] }
OpenAI API integration
The integration itself is not the hard part, it is the same as any other type of integration with other APIs; the endpoints are described in the documentation and you just need to integrate them into your code.
As the intention here is to send a prompt and get an answer, we will use the /chat/completion endpoint. You can't find the whole description of it here.
POST https://api.openai.com/v1/chat/completions
According to the documentation, two parameters are required:
- message: it is an array where we define the prompt instructions through the role and content parameters.
- model: it is a string, where we define our chosen model (3.5-turbo, 4o-mini, etc).
In our Rust code, we will define two structs based on the parameters above to build the request body. The first struct (RequestBody) is composed of a model string and the message array of type Message, where we define the role and content as Strings.
use serde::Serialize;

#[derive(Serialize)]
struct RequestBody{
    model: String,
    message: Vec<Message>,
}

#[derive(Serialize)]
struct Message {
    role: String,
    content: String,
}
On both structs, we add the #[derive(Serialize)] annotation, allowing to automatically implement the Serialize trait from the serde crate. In this way we can translate the whole structure to a String.
Note: As the scope of this post is about integration with the API, I decided to call .unwrap() to extract the string into request_body_string. This method is necessary because serde_json::to_string() returns a Result<String, Error>. This means the response can either be a string if successful or an error otherwise. However, it is recommended to handle the error at this stage instead of simply calling unwrap(), which automatically returns a string or causes a panic.
let request_body = RequestBody{
    model: "4o-mini".to_string(),
    message: vec![
        Message{
            role: "system".to_string(),
            content: "Forneça a resposta para questão do usuário utilizando a língua élfica Quenya".to_string() },
        Message{
            role: "user".to_string(),
            content: "Quais os pontos fortes da linguagem de programação Rust?".to_string()}
    ]
};

let request_body_string = serde_json::to_string(&request_body).unwrap();
In this example, I instructed the system to produce only responses in Elvish Quenya. For the prompt, I asked it to specify the strengths of the Rust programming language.
To complete the request, we need to define the Content-type header specifying that it is an application/json, as well as the Authorization header where we pass our OpenAI API key.
To keep this post concise, below is our finalized code. Since we are working with the reqwest crate, we are dealing with asynchronous functions. Therefore, we need to prepare our code to run asynchronously using the tokio crate.
use serde::Serialize;
use reqwest::Client;

#[derive(Serialize)]
struct RequestBody{
    model: String,
    messages: Vec<Message>,
}

#[derive(Serialize)]
struct Message {
    role: String,
    content: String,
}

#[tokio::main]
async fn main() -> Result<(), Box<dyn std::error::Error>> {
    let request_body = RequestBody{
        model: "gpt-4o-mini".to_string(),
        messages: vec![
            Message{
                role: "system".to_string(),
                content: "You are expert in the Quenya elf language and a very good programmer. Answer the user prompt in plain Quenya only.".to_string()
            },
            Message{
                role: "user".to_string(),
                content: "What are the strenghts of the Rust programming language?".to_string()
            }
        ]
    };

    let request_body_string = serde_json::to_string(&request_body).unwrap();

    let openai_api_key = "SUA-API-DA-OPEN-AI-AQUI";

    let client = Client::new();
    let url = "https://api.openai.com/v1/chat/completions";

    let res = client
        .post(url)
        .header("Content-Type", "application/json")
        .header("Authorization", format!("Bearer {}", openai_api_key))
        .body(request_body_string)
        .send()
        .await?;

    let json_res: serde_json::Value = res.json().await?;

    println!("{:?}", json_res);

    Ok(())
}
Now, just run the code with cargo run. The program will be compiled, and the requested result will be printed in the terminal.
❯ cargo run
   Compiling openai-api-integration v0.1.0 (/home/mut/blog-stuffs/openai-api-integration)
    Finished `dev` profile [unoptimized + debuginfo] target(s) in 1.18s
     Running `target/debug/openai-api-integration`

Object {"choices": Array [Object {"finish_reason": String("stop"), "index": Number(0), "logprobs": Null, "message": Object {"content": String("Rust tengwaron i hauta:\n\n1. Heruva aire: Rust airë úvë i caurelya.\n2. Nérë teni: Rust úvë caurelyon snat.\n3. Lúmë ohtambar: Rust isil melme úvë i ramat.\n4. Raumo mána: Rust carë hain elenion.\n5. Nólë tultien: Rust uva úvë er tuure.\n\nNa uthuva nérë."), "refusal": Null, "role": String("assistant")}}], "created": Number(1729518721), "id": String("chatcmpl-AKn7BF0mRU90UlGrnYdRzCri6ynXw"), "model": String("gpt-4o-mini-2024-07-18"), "object": String("chat.completion"), "system_fingerprint": String("fp_482c22a7bc"), "usage": Object {"completion_tokens": Number(106), "completion_tokens_details": Object {"reasoning_tokens": Number(0)}, "prompt_tokens": Number(48), "prompt_tokens_details": Object {"cached_tokens": Number(0)}, "total_tokens": Number(154)}}
The response includes not only the strengths of the Rust language in Quenya but also other highly relevant information, such as the number of tokens used for the task.
If you want to check the whole code check it out on my github:
 mutgarth
Conclusion
As an exercise, I suggest deserializing the response. I guarantee this process will significantly contribute to a deeper understanding of the language.
To conclude, I want to make it clear that Rust is not better than Python or vice versa. Programming languages are tools, and we should choose them based on the task at hand. I have adopted Rust as the primary language for the data API I developed for crivo.ai. However, Python still holds its ground in other APIs within the project, and its brilliance remains unmatched when it comes to conducting data science research.